Mac IoT: Remote Connect Behind Firewall (No Windows!) [Guide]
Ever found yourself locked out of your own IoT devices because of a pesky firewall? For Mac users, the ability to seamlessly and securely connect to IoT devices behind a firewall without relying on Windows is not just a convenienceits a necessity. In an age where the Internet of Things is rapidly expanding, understanding how to navigate these digital barriers is crucial for developers, network administrators, and tech enthusiasts alike.
Imagine the scenario: You're a software engineer coding away on your MacBook, tweaking the algorithms that power your smart home. Suddenly, you need to access a sensor buried deep within a corporate network, shielded by layers of security. The thought of firing up a virtual machine with Windows just to manage your IoT device feels archaic and inefficient. Fear not! This guide unveils the secrets to establishing robust, secure connections to your IoT devices, all from the comfort of your macOS environment. We will explore tools, techniques, and best practices that empower you to bypass the Windows dependency and take full control of your IoT ecosystem.
| Category | Information |
|---|---|
| Concept | Remote Connect IoT Behind Firewall |
| Definition | The ability to access and manage Internet of Things (IoT) devices located within a secure network protected by a firewall from a remote location, specifically focusing on methods that do not require a Windows operating system for Mac users. |
| Importance | Ensures secure and efficient management of IoT devices, facilitates remote monitoring and control, enhances network security, and offers Mac-specific solutions for seamless connectivity. |
| Challenges | Navigating firewall restrictions, ensuring data security, selecting appropriate tools compatible with macOS, and troubleshooting connectivity issues. |
| Benefits for Mac Users | Leveraging macOS capabilities for secure connections, utilizing Unix-based tools, seamless integration with cloud services, and avoiding dependency on Windows environments. |
| Key Tools | SSH Clients (e.g., PuTTY for Mac), Tunneling Software (e.g., ngrok, OpenVPN), Network Monitoring Tools (e.g., Wireshark, Little Snitch). |
| Security Measures | Strong passwords, two-factor authentication, regular software updates, encryption protocols (TLS/SSL). |
| Related Technologies | Virtual Private Networks (VPNs), Secure Shell (SSH), Port Forwarding, Reverse Proxies. |
| Market Trend | Increasing demand for secure and efficient remote access solutions, driven by the rapid growth of the IoT market. |
| Use Cases | Smart home automation, industrial sensor management, remote server control, environmental monitoring. |
| Reference Website | NIST Cybersecurity for IoT Program |
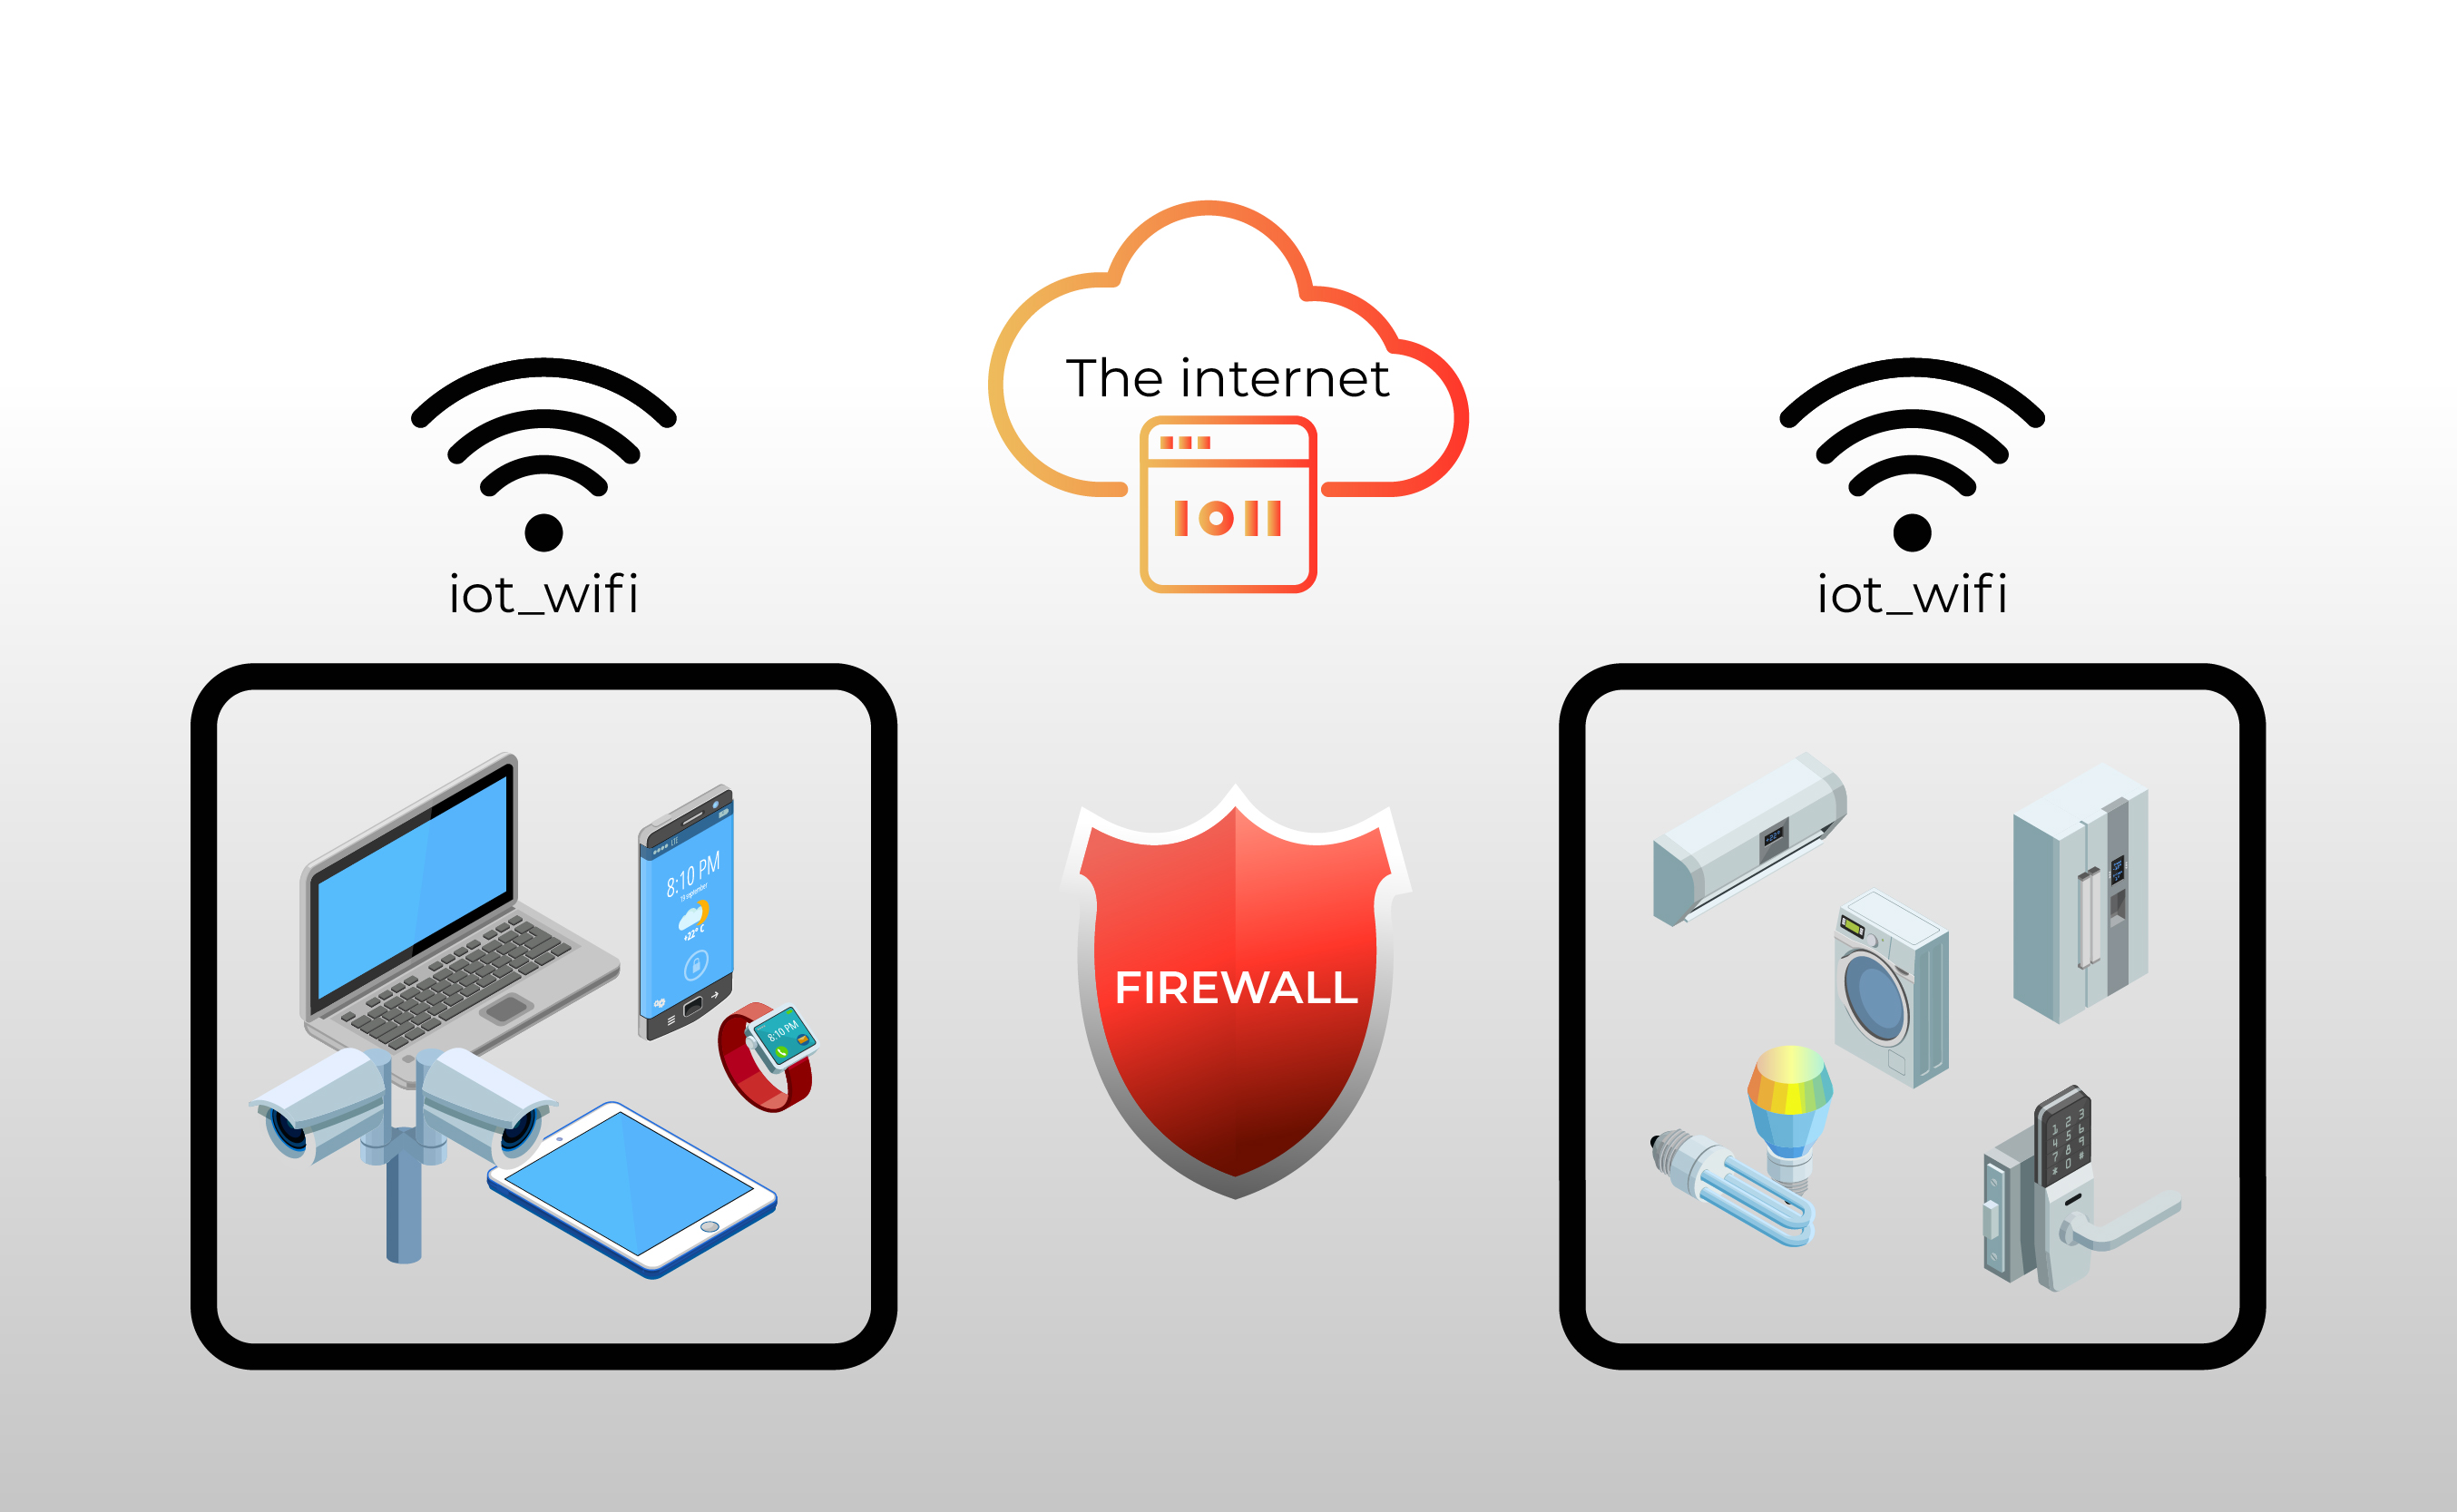
The challenge of accessing IoT devices nestled behind firewalls is not to be underestimated. Think of your firewall as a vigilant guardian, meticulously scrutinizing every inbound and outbound connection. Its designed to keep the bad guys out, but sometimes, it can also inadvertently block legitimate access to your own devices. For Mac users, the situation is nuanced. While macOS boasts a robust Unix-based foundation, many traditional network management tools are geared toward Windows. This creates a gap that must be bridged with specialized software and clever configurations. Thankfully, the Mac ecosystem provides a wealth of alternatives that are not only functional but also often more elegant and streamlined than their Windows counterparts. This guide aims to equip you with the knowledge to exploit these Mac-friendly options.
- Jim Caviezel Diving Into His Life Is Jim Caviezel Married Now
- Discovering Alec Bohms Family Support System Influences
Why should you care? Because the world is rapidly becoming interconnected. From smart thermostats in your home to sophisticated sensors in industrial plants, IoT devices are permeating every aspect of modern life. The ability to remotely monitor and control these devices is no longer a luxuryits a necessity. Imagine a scenario where you need to troubleshoot a critical sensor in a remote factory, but youre stuck wrestling with incompatible Windows-based tools. The delay could cost your company valuable time and resources. By mastering the art of remote IoT access on your Mac, youre not just enhancing your skillset; you're future-proofing your career and contributing to a more efficient and secure digital landscape.
Mac users are uniquely positioned to excel in the world of IoT. The Unix-based architecture of macOS provides access to a treasure trove of command-line tools and open-source software that simplify the process of establishing secure connections. These tools, often more lightweight and efficient than their Windows equivalents, allow you to fine-tune your network configurations with precision. Furthermore, macOS integrates seamlessly with cloud services, making it easy to manage remote devices from virtually anywhere on the planet. Whether you're a seasoned developer, a network administrator, or simply a tech enthusiast eager to explore the possibilities of IoT, this guide will empower you to harness the full potential of your Mac.
Let's delve into the essential tools that will become your allies in the quest for seamless remote IoT access. Consider these your digital toolbox, each instrument designed to tackle specific challenges and enhance your control over your network. First, and perhaps most crucial, is an SSH client. Secure Shell (SSH) is the bedrock of secure remote connections, encrypting your data as it traverses the network. macOS comes pre-equipped with a built-in SSH client accessible via the Terminal. However, for those seeking more advanced features such as graphical interfaces, session management, and port forwarding capabilities, third-party options like PuTTY for Mac (though note that PuTTY is not natively for Mac, and usually requires installation via a package manager or a ported version) and iTerm2 offer compelling alternatives. iTerm2, in particular, is a popular choice among developers for its customization options and powerful features.
- Who Are Michael Ealys Siblings Info You Need
- Life After Loss Understanding Rory Feek Remarriage Rumors Amp Legacy
Next, we need to talk about tunneling software. Firewalls are designed to block unauthorized access, but tunneling allows you to create a secure pathway through the firewall, effectively tricking it into allowing legitimate traffic to pass through. Two popular tunneling solutions are ngrok and OpenVPN. Ngrok is particularly well-suited for exposing local servers to the internet, making it ideal for testing IoT devices during development. OpenVPN, on the other hand, is a more robust VPN solution that creates a secure, encrypted tunnel between your Mac and the remote network hosting your IoT devices. OpenVPN is often preferred for production environments where security is paramount.
Finally, no network toolkit is complete without network monitoring tools. These applications allow you to peek under the hood of your network, analyzing traffic patterns and identifying potential security threats. Wireshark is a powerful, open-source packet analyzer that captures and analyzes network traffic in real-time. It's an invaluable tool for troubleshooting connectivity issues and identifying suspicious activity. Little Snitch, a macOS-specific application, takes a different approach, acting as a firewall that monitors all outgoing network connections and prompts you to approve or deny each one. This allows you to prevent applications from phoning home without your permission, enhancing your privacy and security.
Remember the cardinal rule of software: Always download from trusted sources. The internet is rife with malicious software disguised as legitimate tools. Before downloading anything, verify the source's authenticity. Look for official websites, check user reviews, and scan files with a reputable antivirus program. When in doubt, err on the side of caution and seek advice from online forums or trusted colleagues. Your network security is only as strong as your weakest link, so exercise due diligence in your software selection.
With your toolbox assembled, it's time to set up your environment. This involves installing and configuring each tool to work seamlessly with your network. Start with your SSH client. If you're using the built-in SSH client in Terminal, no installation is required. However, if you've opted for a third-party client like iTerm2, follow the installation instructions provided by the developer. Once installed, configure your SSH client with the necessary credentials to access your remote server or IoT device. This typically involves specifying the hostname or IP address, the port number, and your username and password (or, preferably, an SSH key for enhanced security).
Next, set up your secure tunnel using ngrok or OpenVPN. If you're using ngrok, download the ngrok executable from the official website and follow the instructions to create an account and obtain your authtoken. Then, use the ngrok command to expose your local server to the internet. For example, if your IoT device is running on port 8080, you would run the command `ngrok http 8080`. Ngrok will then provide you with a public URL that you can use to access your device from anywhere in the world.
If you're using OpenVPN, the setup process is more involved, requiring you to configure both a client and a server. You'll need to install the OpenVPN client on your Mac and configure it with the necessary settings to connect to your OpenVPN server. Your OpenVPN server will typically be located on the remote network hosting your IoT devices. Once the tunnel is established, all traffic between your Mac and the remote network will be encrypted, providing a secure connection.
Finally, the crucial step of testing your connection. After setting up your SSH client and secure tunnel, it's essential to verify that everything is working as expected. Use your SSH client to connect to your remote server or IoT device. If you're using ngrok, access the public URL provided by ngrok in your web browser. If you're using OpenVPN, ping a device on the remote network to confirm that the tunnel is operational. If you encounter any issues, double-check your configurations and consult the documentation for each tool. Remember, patience and persistence are key to mastering these technologies.
Security is paramount when dealing with IoT devices, especially when accessing them remotely. A compromised IoT device can serve as a gateway for attackers to infiltrate your entire network. Fortunately, macOS offers a range of built-in features and third-party tools to help you fortify your defenses. First and foremost, embrace the power of strong passwords. Use unique, complex passwords for all your devices and accounts. Avoid using easily guessable passwords like "password" or "123456." A password manager can help you generate and store strong passwords securely.
Enable two-factor authentication (2FA) whenever possible. 2FA adds an extra layer of security by requiring you to provide a second verification code in addition to your password. This code is typically sent to your smartphone or generated by an authentication app. Even if an attacker manages to steal your password, they won't be able to access your account without the second verification code.
Regularly update your software and firmware. Software updates often include security patches that fix vulnerabilities discovered in previous versions. Keeping your software up-to-date is crucial for protecting your devices from known exploits. Enable automatic updates whenever possible to ensure that you're always running the latest versions.
Consider using encryption protocols like TLS or SSL to encrypt the traffic between your Mac and your IoT devices. TLS and SSL encrypt your data as it travels across the network, preventing attackers from eavesdropping on your communications. Most web browsers automatically use TLS or SSL when connecting to secure websites. However, you may need to configure your IoT devices to use these protocols as well.
Even with the most robust security measures in place, you're bound to encounter hiccups along the way. Troubleshooting is an inevitable part of the IoT experience. Let's examine some common issues and their potential solutions. Perhaps the most frustrating problem is being unable to connect to your device. This could be due to a variety of factors, including incorrect firewall settings, misconfigured IP addresses, or network connectivity issues. Start by double-checking your firewall settings to ensure that the necessary ports are open. Firewalls often block incoming and outgoing connections on specific ports. You'll need to open the ports required by your IoT device to allow traffic to pass through.
Verify that your device's IP address is correctly configured. If your device is using a static IP address, ensure that it's within the correct subnet and that there are no IP address conflicts. If your device is using DHCP, ensure that your router is properly configured to assign IP addresses.
If you're experiencing slow connection speeds, this could be due to network congestion, outdated hardware, or inefficient software. Try optimizing your network settings by disabling any unnecessary services running in the background. These services can consume bandwidth and slow down your connection. Consider upgrading your internet plan if needed. A faster internet connection can significantly improve your connection speeds.
Security alerts can be alarming, but they're often just a sign that your system is doing its job. Review the alerts carefully to determine whether they're legitimate or false positives. If you're unsure, consult your network administrator or seek advice from online communities. Legitimate security alerts should be taken seriously. Investigate the source of the alert and take appropriate action to mitigate the threat.
As a Mac user, there are a few expert tips you can use to streamline your IoT workflow. Automate repetitive tasks using scripts or automation tools like Automator. Automator is a built-in macOS application that allows you to create workflows that automate repetitive tasks. You can use Automator to automate tasks such as connecting to your IoT devices, transferring data, and generating reports.
Leverage the power of the cloud. Use cloud-based services to store and manage your data securely. Cloud services offer a convenient and secure way to store and manage your data. You can use cloud services to store data from your IoT devices, analyze the data, and generate reports. Stay up-to-date with the latest trends and technologies in the IoT space by following industry blogs and forums. The IoT landscape is constantly evolving. Staying up-to-date with the latest trends and technologies will help you stay ahead of the curve.
According to recent studies, the global IoT market is expected to reach staggering valuations by the end of the decade. With such rapid growth, the demand for secure and efficient remote access solutions is only going to increase. This proliferation underscores the critical need for robust security measures to protect these interconnected devices and networks from potential threats.
These statistics and projections underscore the importance of mastering the art of connecting IoT devices behind firewalls. By acquiring this skillset, you're not only future-proofing your career but also positioning yourself as a valuable asset in the ever-expanding tech industry. The ability to seamlessly and securely access and manage IoT devices, regardless of their location or network configuration, will be a highly sought-after skill in the years to come.
- Henry Cavills Weight The Untold Story Of Roles Fitness Amp More
- Errol Musks Net Worth What We Know And Estimations

How To Securely Access IoT Devices Behind Firewalls A Guide To Remote
How To Remotely Connect IoT Devices Behind A Firewall On Mac Without

How To Remote Connect IoT Devices Behind A Firewall On Mac And Windows
